In the world of baking, there's a cool trick that turns your treats into personalised wonders – edible images! They let you add a touch of your personality to your creations. Whether you're a baking pro or just love making treats at home, edible images can make your goodies stand out. In this blog post, let's dive into the different types of edible images, get creative with ideas on how to use them, and learn some easy tips for storing and putting them on your treats.
Here at Build a Birthday we've got a bunch of edible images to play with – round ones, rectangular ones, cute icons, fun wafers, cake strips, cake wraps and ones perfect for cupcakes. And guess what? You can even get custom edible images made just for you! The possibilities are endless, and you're the boss of your edible masterpiece.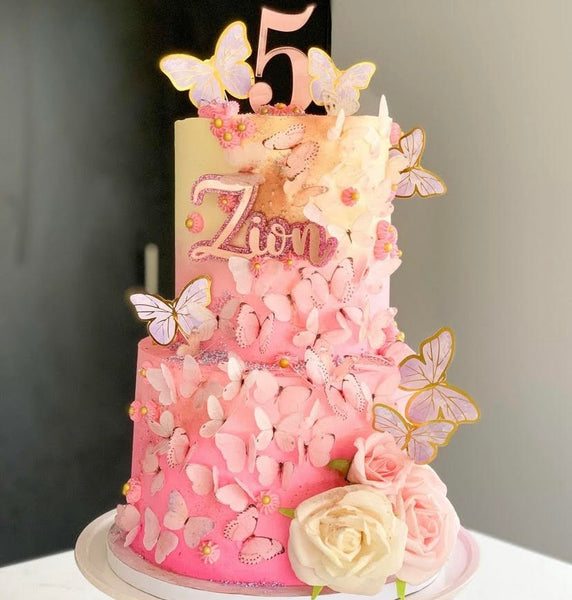 @mouthfull.co.nz
What Can Edible Images Be Used For?
-
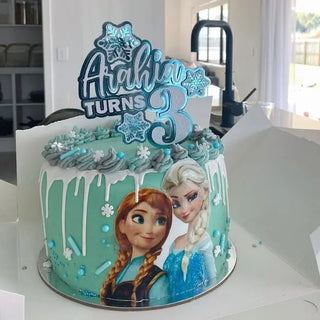
Cakes: Make your cakes super special by putting a round or rectangular edible image on top or consider using a cake wrap or strip for around your cake! Perfect for birthdays, anniversaries, or any time you want to celebrate.
-
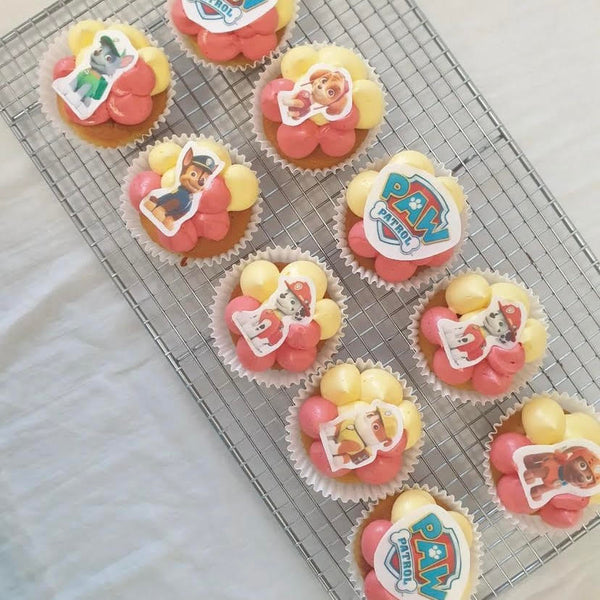
Cupcakes: Turn your cupcakes into tiny works of art by adding edible images and icons. Add your favourite characters, logos, or any cool image you like. Edible wafers are a fun way to add a little 3D picture! They'll taste as good as they look!
-
Cookies: Jazz up your cookies with edible images. Decorate them with cartoon characters, holiday symbols, or write a sweet message. Cookies never looked so good!
-
Brand Your Treats: If you're a business owner, use edible images to show off your brand. Slap your logo on cupcakes or cookies for events, launches, or sweet client gifts.
-
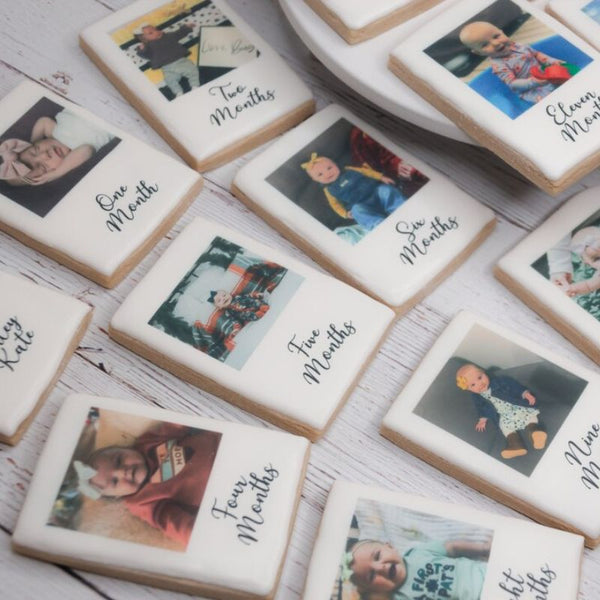
Celebration Sweets: Customise your desserts for weddings, baby showers, or graduations and more with special edible images. Add pictures of the couple, baby ultrasound and memorable moments. Use these custom images to create extra special treats like our polaroid cookies.
Storing edible images
Keep your edible images in the pantry, not the fridge or freezer, in their original packaging, until you're ready to use them. Shield them from direct sunlight to prevent colour fading. The shelf life is approximately 6-12 months when stored in the original packaging.
Preparing your cake
For optimal results, apply the edible image to the cake on the day of your event to prevent any possibility of buttercream bleeding through. Using white or light-coloured buttercream works best.
- If your cake is frozen, ensure you thaw it slightly before starting
- Ice with buttercream or fondant icing, ensuring the surface you will be applying your image to is smooth
 @neatzies_sweets
Application
Tip: If you need to cut the image, leave it on the plastic backing and use a sharp pair of scissors.
- With clean, dry hands, remove the edible image sheet from the plastic packaging by placing the sheet on the square edge of a bench or table. Slowly peel the paper down to reveal the image, starting from the corners and then the center.
- Starting from the centre, place your image in your desired position, patting gently with dry hands to ensure there are no air bubbles.
- Leave it for at least 20 to 30 minutes, allowing the printed image to merge seamlessly with your cake's icing.
- Conceal visible edges by piping icing around them. Add extra decorations such as sprinkles, lollies, or chocolates if desired.
Tip: Never place a cake topped with an edible image into a plastic bag or container. This can cause sweating, leading to water droplets falling on the image, resulting in holes or ink running. Instead, use a cardboard cake box.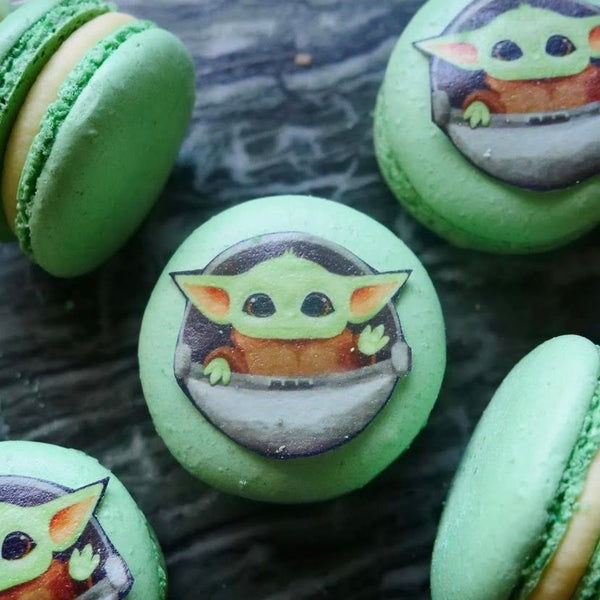 @claytonbakes
Troubleshooting
Dry icing: If the icing has dried before you manage to apply your image, lightly mist it with water first, but avoid oversaturating to prevent colour running.
Image removal: If the image isn't peeling easily from it's backing sheet, this is likely due to high humidity. Leave out to dry for a further 5-15 minutes in a dry room before trying again. It is important not to force the removal of the image, as this could damage it.
Alternatively any one of the following methods should help you to peel the image off:
- Roll the sheet vigorously over the sharp edge of a tabletop.
- Place the image in a very cold freezer for a maximum of 30 to 60 seconds.
- Use a hairdryer (or any hot air supply) on the reverse side of the backing sheet for about 30 to 40 seconds.
- Place it in a warm (not hot) dry oven at a very low temperature or lay the sheet on a warm oven tray for about 1 to 2 minutes.
Bleeding colours or fading
Bleeding or fading typically occurs when the image is placed on high-fat and/or high-moisture content icing, such as whipped cream. Edible images work best on buttercream icing.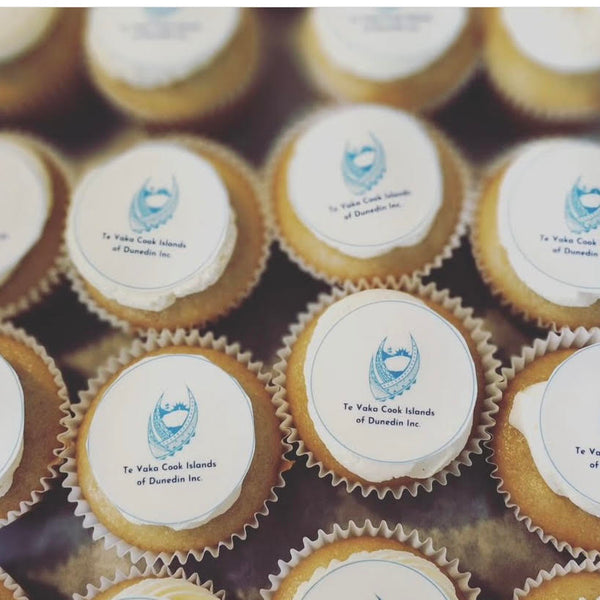 @sweetrevelations.nz
Dietary Considerations
Our edible icing images are free of gluten, nuts, dairy, and eggs, making them suitable for vegetarians and vegans. Now everyone can enjoy the delicious artistry of edible images without worry!
Customisation Made Easy
Want to tweak your images but not sure how? No worries! Our customisation services can help you resize, crop, add text and more for a small fee.
Edible images are like a magic wand for baking, letting you add your personal touch to your treats. Whether it's cake toppers, business branding, or party desserts, edible images make your creations look as good as they taste. So, what are you waiting for? Head to our website to explore the world of edible images now!
If you require any further assistance, please feel free to call us on 04 9719710, seven days a week.